
Following on from my previous attempts to make a crusty loaf and to make things both more difficult and more interesting, I set about upping my baking game by researching sourdough. I love sourdough, rarely can I pass a farmers market stall or a family bakery in a small town somewhere without wanting to purchase a crusty, rustic loaf so making my own seemed like a good idea. As it turned out there are a billion people on the internet who all say they have the perfect recipe for sourdough and they all seem to do it differently – hmmm – time to pair things down to the most simple and start from there.

Day One – The Starter
When I say start from there what I actually mean is start with a starter…still with me? A sourdough starter is a mix of flour and water left to build up its yeasty (sour) flavour by turning the natural yeast in the air into a kind of frothy broth that you use to kickstart the doughs rise. Even here the internet brought up all sorts of methods with weird and wonderful ingredients so I ignored them, put 150g of plain flour into a tub with 150ml of tepid water and covered it with a tea towel for 24 hours and crossed my fingers. Next step is to ‘feed’ your starter which simply means adding some more flour each day along with roughly the same amount of water until it starts to cultivate a yeast. In my case nothing much happened for the first coupe of days and worried I’d end up with a vile poisonous tub of mould so I fed it, put an airtight lid on and left it another couple of days. When I next checked it the plastic container (don’t use a plastic container) looked like it was about to explode – definitely building up yeast then. After a quick nip to the local supermarket my starter was now in a 1l Kilner style jar frothing away nicely and safely. This all took about a week and as the starter looked like the pictures online I decided it and I were ready to party.
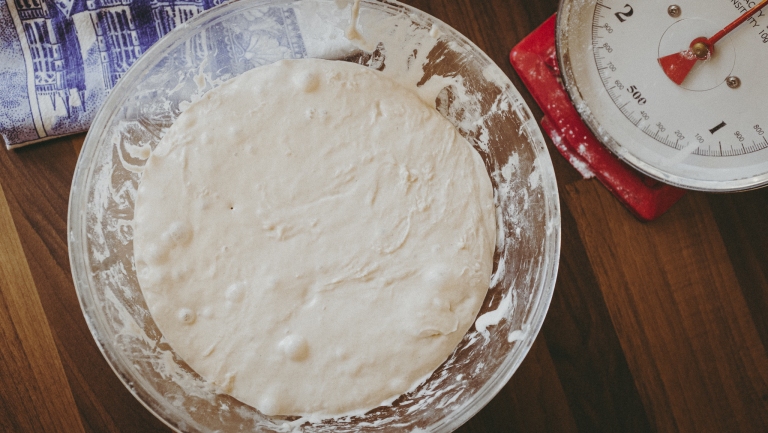
At this point I did spend some time trying to find a simple guide for making a sourdough loaf and after a good while online, eventually was pointed in the direction of one a friend had used that looked simple and achievable for a first time go. Sourdough is a little different to ‘normal’ bread making as you don’t need the dough, you just use time…lots and lots of time…to let the yeast do the rising for you. So yesterday evening I mixed about 150g of my starter into 450g of plain flour, added two teaspoons of salt and 290g (yes grams, which I also found odd, but I was following a recipe) of tepid water into a large bowl, mixed with my hands until I had a rough dough and left for one hour covered with cling film. There’s a technical term for this but I hate jargon so bugger it, I’m not going to bother you with it either. After an hour you are meant to be able to lift the dough out, gently scrape it into a ball and pop it gently back into the bowl to prove for around 12 hours (overnight) to get the dough full of those lovely air bubbles you want in your loaf – this did not go as planned. The best way I can describe the mixture is it felt and moved around very much like wet cement, Yes it clagged together but it also clagged to everything even remotely near it. I couldn’t get it off my hands, the bench, the spatula thingy, this was not going to plan. I was meant to be able to gently form it into a lovely round ball with a tight looking skin that would eventually form a crust. Not a chance I could do that so I scraped my glue/cement mix off the worktop, tried to get as much as possible of it off my hands, dumped it back in the bowl, covered it with cling film and crossed everything.
Day Two – Bake Day
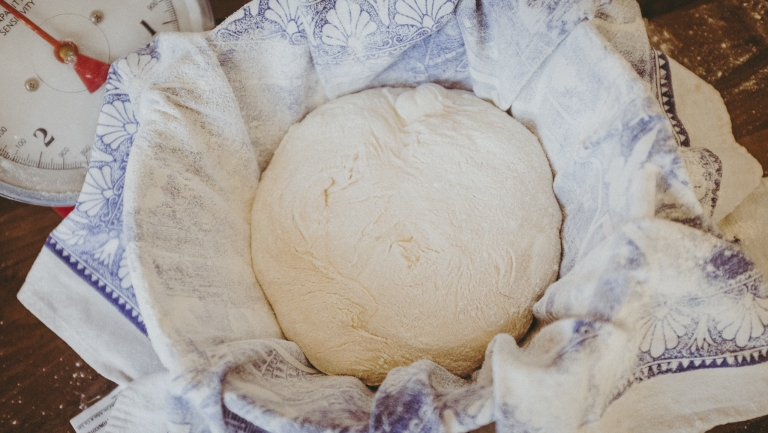
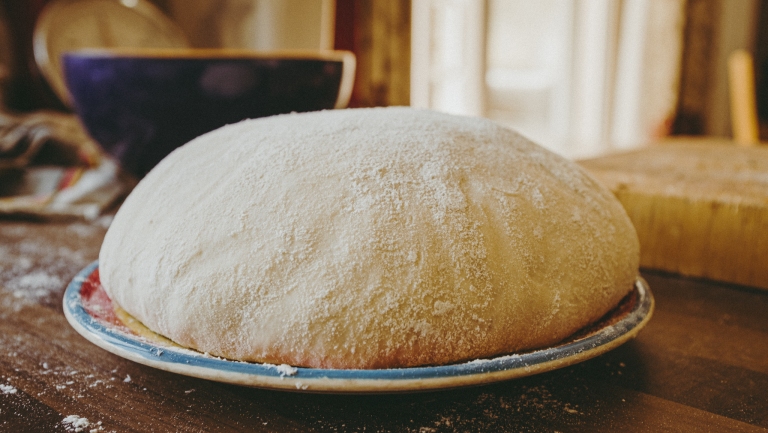
Next morning I still had a bowl of cement though it was now cement full of bubbles so not entirely a disaster. Back on the internet and a search for ‘dealing with wet dough’ later and I found a lovely lady on YouTube who showed how with a little flour and some careful handling you can rescue a lump of clag and turn it into a proper ball of dough. I did try the proper technique I had read about where you place the dough on a work surface, knit the fingers of both hands together to form a cradle (cement scoop) and pushing down on the surface pull the dough ball towards you. Next you turn it 90° and pull it towards you again…and again and again and again until the surface is nice and tight. This has something to do with stretching gluten to form a nice crust and I do think it works as from my previous baking you can see how the surface changes when you stretch it. With my cement it just smeared a thick veneer over about two foot square of kitchen worktop. Great if I was laying a patio – not so great for making bread. This done you are meant to gently pop the dough ball (tight surface down) into a bread prover, which is a wicker basket with a cloth in it, cover and leave to prove again. I don’t have one of those so a bowl with a flour dusted tea towel does the same thing and thats what I used. Depending on the ambient temperature you need to wait between three and six hours….this had better be worth it. Typical of the UK we have had fantastic weather during lockdown, lots and lots of sunshine to look at from the house windows or the confines of the garden so the rise for me was three hours. Now that is not a definite it was just me deciding it was warm and I was bored of wandering round looking under the tea towel to see what it was doing. There are so many variable when it comes to baking I sometimes wonder if it’s best to just make everything up as you go along and see what happens.
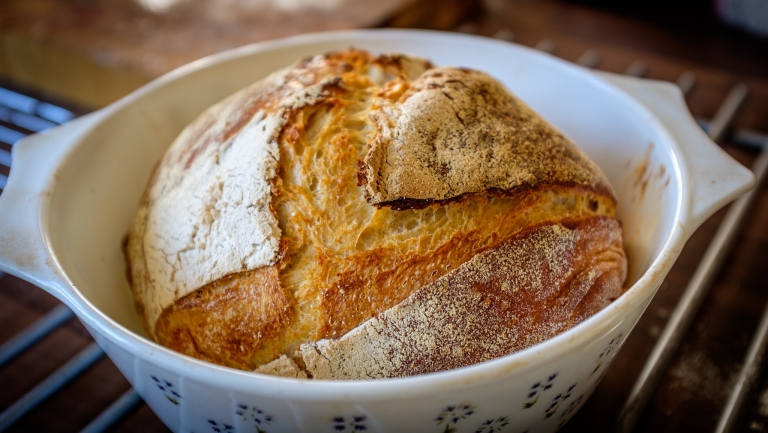
An hour before your, guessed at, proving time pre heat your oven to 250°c or as hot as it will go and put a dutch oven in to get scadding hot. “What’s a dutch oven Robin?” I hear you ask. Turns out it’s a cast iron crock pot that people with better kitchens than us make casseroles and things in but you don’t ‘need’ need one, a china/glass casserole dish with a lid will do the same thing. The advice I found was to leave the oven/pot to heat for at least an hour after the oven had come up to temp but that seemed like overkill so I just waited ten minutes after the ready light on the oven said it was hot. Now the people of the internet I was following said the dough ball will have risen slightly, be elastic, springy and just ‘plop’ light as a feather out of the tea towel onto your work surface – my cement did none of these. It had clagged, welded would be a better description, itself to the towel and absolutely refused to be parted with its new found friend. My tight, stretchy-gluten surface was now an integral part of the cloths weave and no amount of shaking, pulling or swearing was going to encourage it to part. In despair I scraped what I could onto the bench, tried to pat and push it into a ball using flour to stop it sticking to everything and losing any air pockets it had formed. Finally I had a lump…lets not call it a ball…of dough ready to bake. To get that artisan look to your sourdough you now have to put a cut across the top with as sharp a knife as you have, or even better a razor blade. The idea is it will crack open during the bake, go extra crusty and look pretty when done. Gently lift (scrape) your dough into your mad hot ‘thing of choice’ and bake for 30 to 40 minutes with the lid on to keep all the steam inside. That initial time done take the lid off and keep baking for another ten minutes or so until the crust looks as dark as you want it.
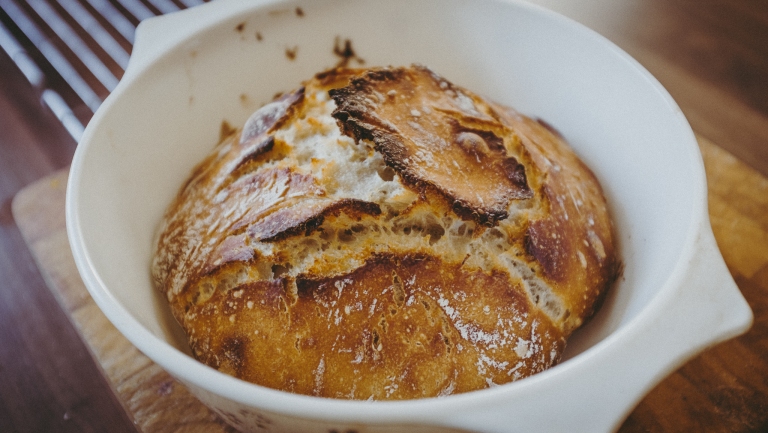
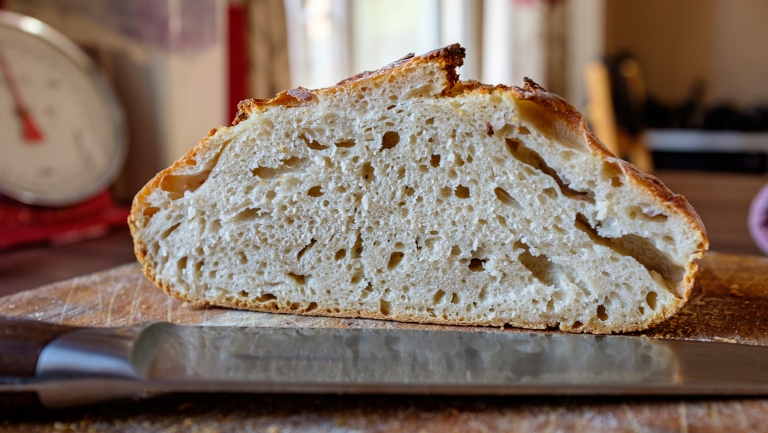
Quite how this worked I’ll never know, blind luck, nature doing what nature does best or possibly the leeway for making a sourdough is so huge you can’t away with murder – but – what came out of the oven looked like a lovely rustic loaf with loads of air bubbles and a properly crusty top.
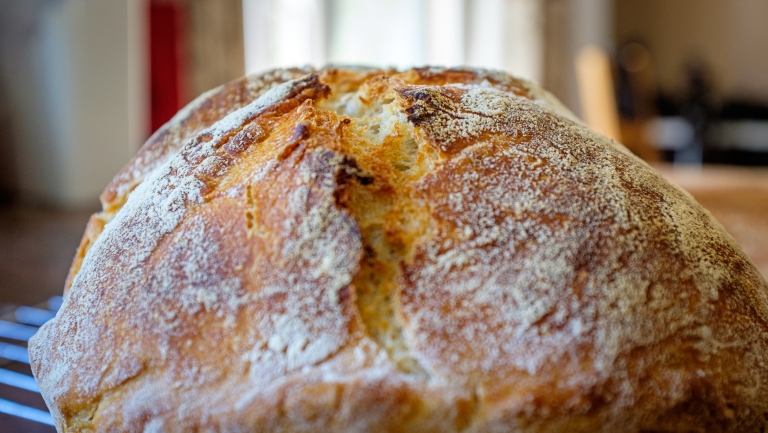
Smug Mode Engaged
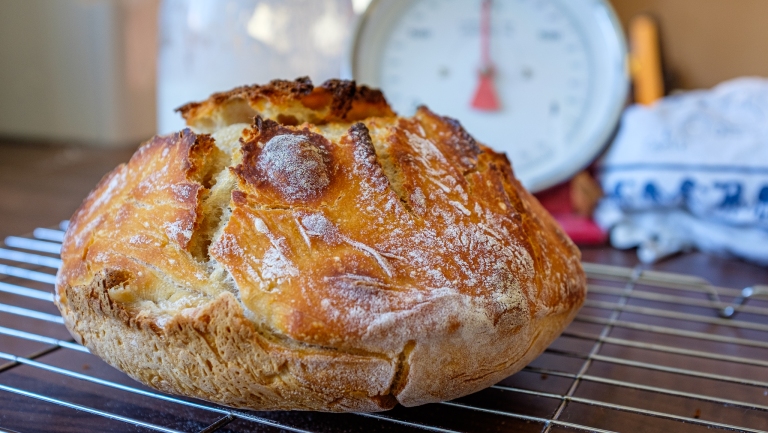
This thing that I had wrestled with for over a day looked bloody fantastic, the crust sounded super crusty and when I flipped it over the loaf sounded hollow when I tapped it. You need to leave it until fully cooled – its mental hot when it comes out as you’ve had the oven at max so be careful – for it to finish baking. Leave it on a wire rack, strut round looking smug, tell everyone in the house to come and have a look and take pictures to show people on FaceBook. When cooled you should have a loaf that is crusty on the outside, full of springy air pockets on the inside and has a lovely sourdough flavour. It is quite possible the most satisfying and tasty bread you can make so get yourself some butter and enjoy, you have earned it.
Footnote
The recipe I used said you needed 290g of water to 450g of flour, two teaspoons of salt and 100g of starter. This is utter madness as the cement I got was not in any way like the things I have seen online. I have since started another loaf, using 500g of flour, 150g of starter and 250ml (not grams) of water plus the salt and the entire process has been a joy. The dough formed as it should, was easily workable without the welding to anything it touched, stretched gently and rose wonderfully.
Happy baking…

A new obsession begins….. I’ve reduced my water a bit for todays/tomorrow’s batch as my first one was a big claggy too. Looking forward to your journey. Oh and I suggest you hide the human scales, I have 😂😂
LikeLiked by 1 person
Today’s was far better but having scoffed it all tonight I think it needs a little more water. I’m loving this though so will keep experimenting.
LikeLike